
Having failed my first submission (didn't finish on time), the character re-submission date was given on Monday 20th of October. Time to get this character done!
Textures:
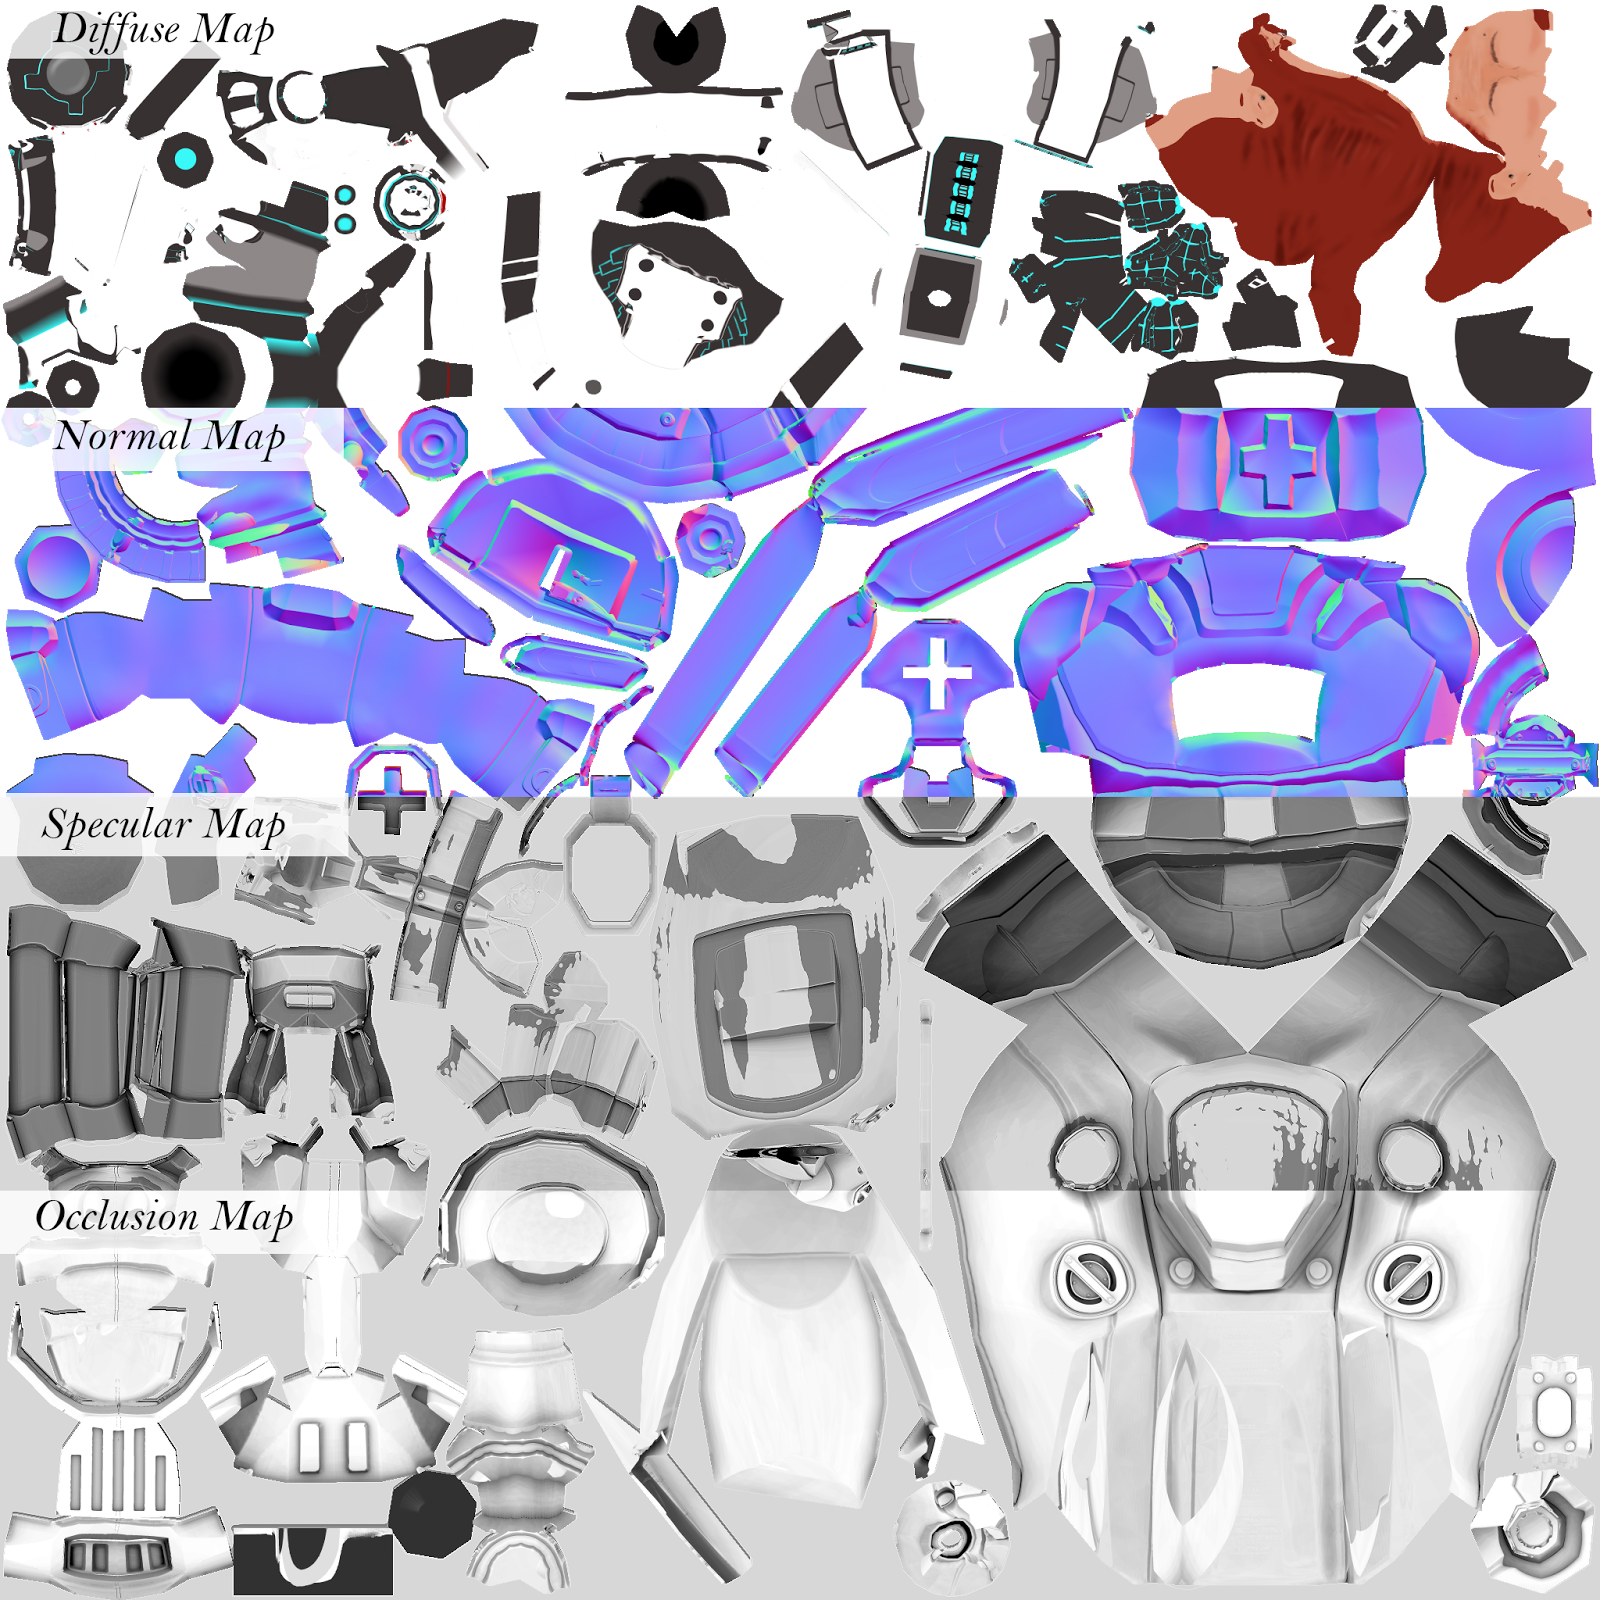
Normal Map:
- Baked with xNormal.
- Gave me the most trouble, had to bake my character in groups of components to prevent overlapping and cage problems.
- Still ended up with a few normal issues, though not very noticeable.
- The Jetpack normals look quite bad, the first part of the character I would fix if I had extra time.
Occlusion Map:
- Baked with xNormal, along with normals.
- Has same issues as the normal map.
Diffuse Map:
- Polypainted on my high poly mesh in ZBrush.
- Baked vertex colours in xNormal onto the low poly mesh.
- Had issues, such as colours baked on random pieces, but managed to clean up most of them in Photoshop.
- Would have liked to hand-paint a bit more as it looks rather flat.
Specular Map:
- Generated using dDo. Ran out of time to hand paint my own.
- Works alright, but would have preferred to alter the skin and hair speculars to look more realistic.
- The scraped paint look might have turned out too strong.
Emission Map:
- Created an emission map to create light glows from the cyan colour in the armor, the liquid in the needles, and the red crosses.
- Looks decent when rendered in Marmoset 2. The red cross on the back looks a bit too bright perhaps.
Level of Details
- The LODs needed (with poly limits) are LOD 0 - 15k , LOD 1 - 7k, and LOD 2 - 1k.
- Created LOD 1 with the aid of the reduce tool in Maya 2014. Worked well enough.
- LOD 2 was a disaster. Trying to reduce my model down to 1k poly was near impossible. The result was a complete mess of barely recognizable shapes, and the model looked quite frightening to be honest.
Renders (LOD 0):


